


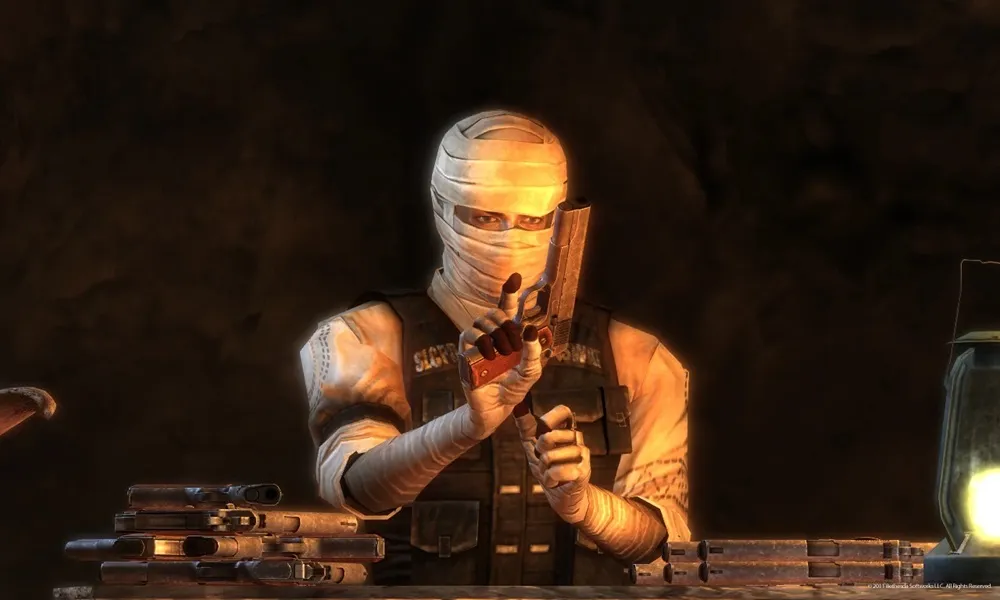


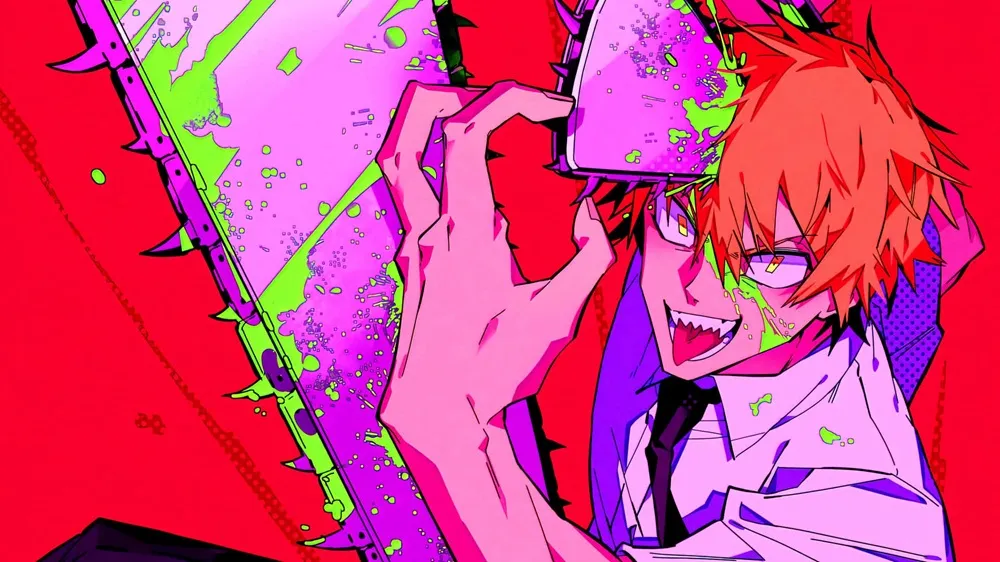


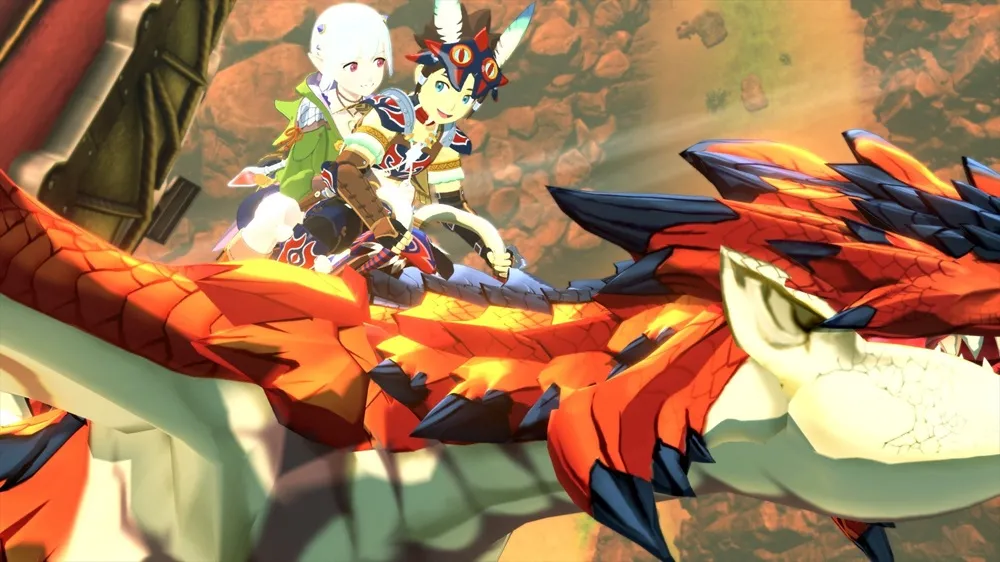


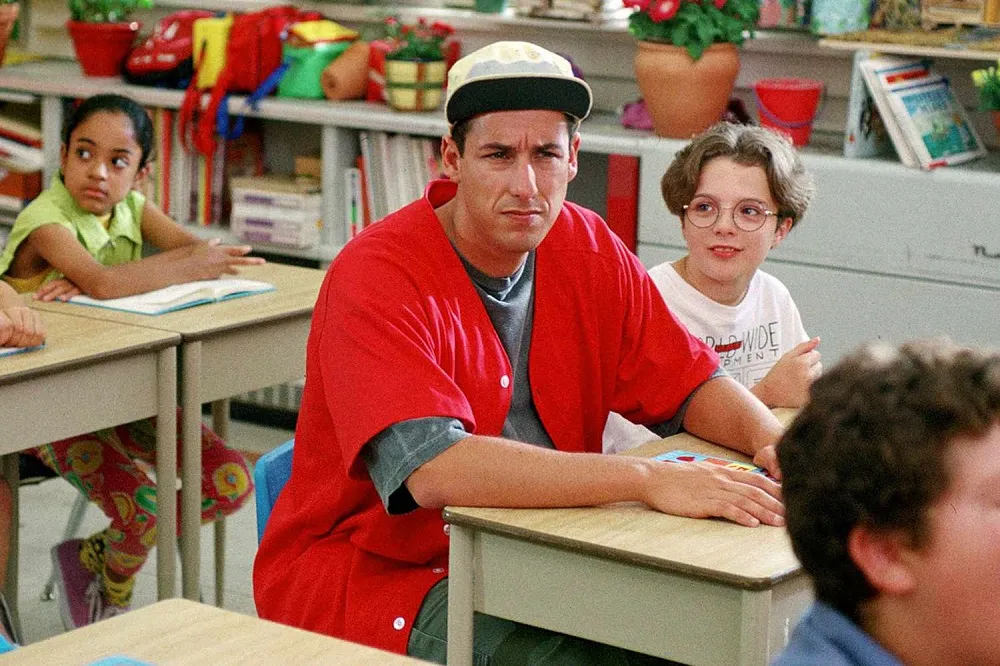


ASTD: Ultimate Guide to Tower Defense Strategies and Winning Combos
Alright, here’s the deal—if you’re into tower defense games, you’ve probably heard of ASTD (All Star Tower Defense). This game has become a juggernaut on Roblox, mostly because it’s got everything—epic anime characters, wild powers, and a surprisingly deep strategic layer. But here’s the kicker: even though it looks easy at first, winning in ASTD requires more than just slapping down a couple of powerful units and hoping for the best.
That’s where I come in. You want to really crush it in ASTD? Let me walk you through the best strategies, winning combos, and tips that I wish someone had told me before I kept getting wrecked by waves of enemies.
Getting a Grip on ASTD: The Essentials
Okay, so here’s the basics. ASTD isn’t your typical tower defense game. Yeah, you place towers (which are, surprisingly, anime characters) on the map to defend against waves of baddies. But unlike other TD games, ASTD lets you unlock and level up a massive roster of characters, each with their own strengths, weaknesses, and abilities. And if you want to be good at this game, you’ve gotta really know your units.
You’ll start each game with limited resources—money, mostly—so you’ve got to place your towers strategically. As you survive waves, you earn more cash to deploy new units or upgrade the ones you already have. But here’s the tricky part: once you get past a few levels, things get real. Like, real real. Enemies will start to overwhelm you if you don’t have a solid game plan.
The Basic Ingredients of a Killer Strategy
You’d think putting down a tower here or there would do the job. But nope, it’s more like baking a cake than slapping some frosting on a cookie. There are a few things you need to keep in mind when building your strategy.
1. Placement is Everything
Ah, the art of tower placement. I’ve learned this the hard way, y’all. I used to just throw down random units wherever I could fit them. And you know what happened? I got demolished.
Some towers are only effective when they have the right range or can hit multiple enemies at once. For example, a long-range unit should be placed at a central location, ideally near the middle of the map where it can deal with both lanes of enemies. And don’t even get me started on the choke points. That’s where you want to put your crowd control towers—right where the enemies are funneled into narrow areas.
2. Tower Synergy
Here’s the thing: ASTD isn’t just about throwing random characters onto the battlefield. You need synergy. Like, did you ever make a bad playlist that ended up sounding like an auditory car wreck? Yeah, it’s like that. Some towers complement each other perfectly. Others… not so much.
For example, you can’t just throw down an all-damage unit and call it a day. You’ll need support towers, like ones that slow down enemies or increase damage. The goal is to make sure you have a diverse range of units covering all bases.
3. Resources. Baby.
Listen, managing your money is one of the most crucial aspects of ASTD. You need it to deploy and upgrade towers. Here’s the problem: if you don’t manage your resources correctly, you’ll either run out of money or find yourself upgrading the wrong towers at the wrong time. Bad news bears.
Early on, you want to focus on getting cheap but effective towers down first—then, as you start to rack up some income, upgrade wisely. You don’t need max-level units at the start. Trust me on this one.
4. Upgrades Matter More Than You Think
Upgrading towers is key to making sure your defense stays effective as the waves get harder. But upgrading every unit you place is a rookie mistake. I’ve been there. You don’t want to blow all your resources on a single unit when you need to diversify your defenses. Instead, prioritize upgrades on towers that provide the most bang for your buck. You’ll know which ones—they’ll be the ones you’re using the most.
My Go-To Strategies in ASTD
Now that we’ve got the basics covered, let’s talk about actual strategies. Because guess what? It’s not just about placing a bunch of towers and praying to the Roblox gods. You need a plan, and I’ve got you covered with a few different approaches I swear by.
Strategy 1: The Balanced Approach
Okay, so I’ll admit it—this is the “safe” option. But hey, it works. When I first started playing ASTD, I stuck to this method because it gave me the flexibility to adapt no matter what was coming my way.
The basic idea here is to have a little bit of everything: single-target damage, crowd control, and support. It’s a well-rounded team that can handle most situations.
Must-Have Towers:
- Saber (5-Star): She’s reliable. She’s solid. She deals great damage and isn’t too picky about placement.
- Bulma (5-Star): You’re going to need a money booster. Trust me, you’ll need those upgrades later on.
- Naruto (5-Star): He’s great for crowd control. Put him at a choke point, and watch him go to town.
Once you’ve placed these, start upgrading slowly. Upgrade one tower at a time. Don’t get carried away, or you’ll end up with an empty wallet and a bunch of level-1 towers.
Strategy 2: Heavy Damage, Minimal Defense
I used to think this was a good idea. Just spam damage-dealers and call it a day. Let me tell you, that does not work. At least, not without some serious thought behind it.
That said, focusing purely on damage can work—if you know what you’re doing. Just keep in mind that you’ll have to place crowd control or slow units to back up your damage-dealers.
Essential Towers:
- Levi (6-Star): This guy’s a beast. His single-target damage is insane, and once you upgrade him, he can wipe out pretty much anything.
- Erwin (5-Star): Here’s the secret sauce. Erwin can boost your damage output, and pairing him with Levi will destroy everything in sight.
- Dio Brando (6-Star): The freeze is just brutal. You can use Dio to lock down strong enemies long enough for Levi to finish them off.
Place these powerhouses and focus on upgrading them to max as fast as possible. Don’t forget Erwin’s buff, though—it’s what makes this combo work.
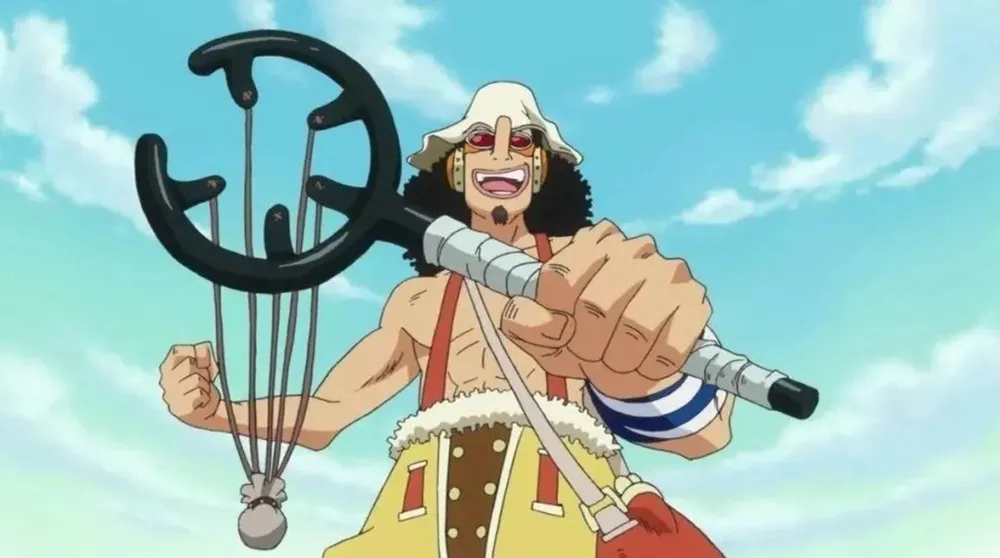
Strategy 3: Speedrun Madness
I’ve tried speedrunning in ASTD before. Let’s just say, it didn’t go well… the first five times. Fast-forward past three failed attempts, and I learned how to make this strategy work.
The idea is simple: build towers that can clear waves quickly. You need speed, area-of-effect damage, and high attack speeds. This one’s a little more technical, but I’ll walk you through it.
Best Towers for Speedruns:
- Goku (5-Star): Fast attacks, huge AoE. He’s your guy when you need to wipe out groups of enemies.
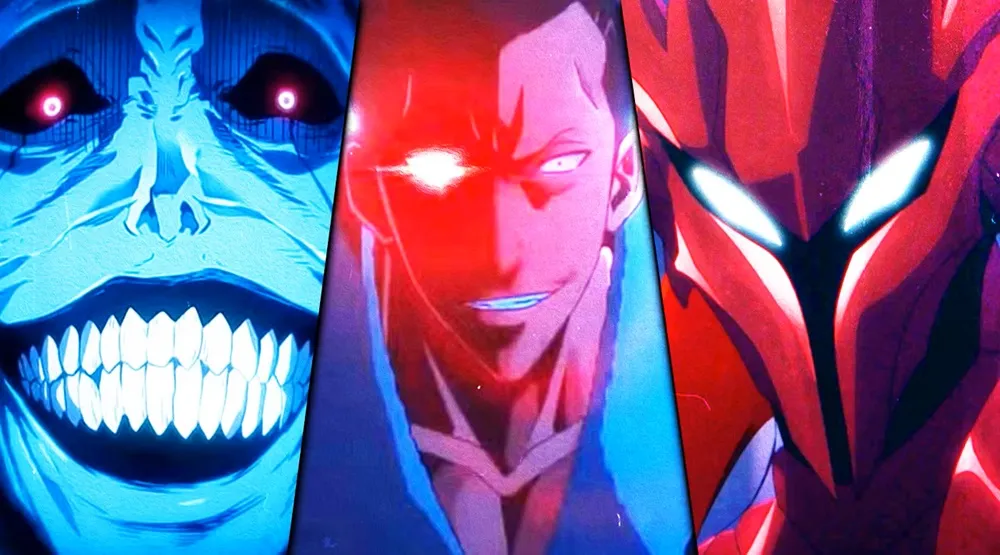
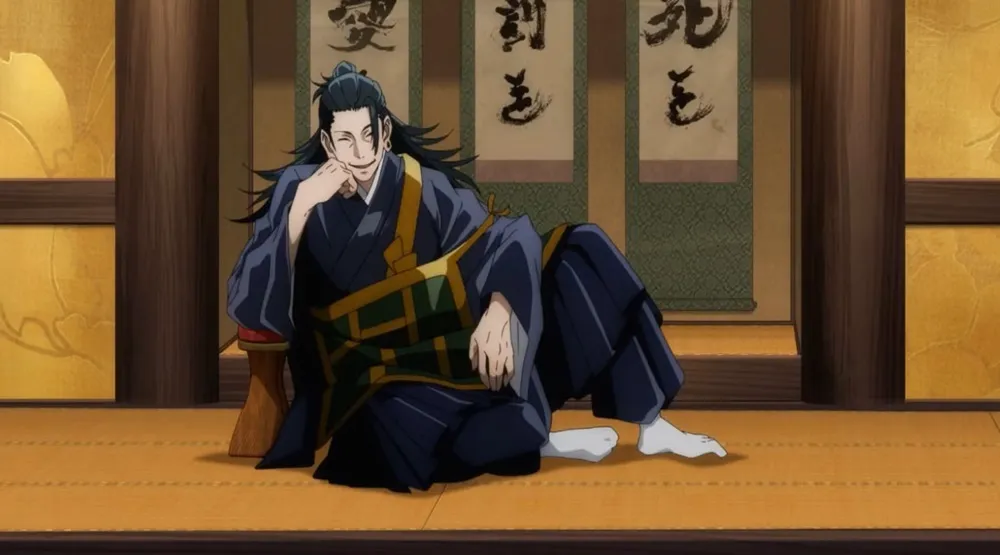
- Aizen (6-Star): Long-range, devastating effects. He’s excellent for picking off enemies from a distance.
- Shanks (6-Star): With his fast attack speed and solid damage, Shanks will help speed up wave clearing.
Get these units down as quickly as you can, then focus on upgrading them fast. Speed is everything here, so make sure you keep a steady flow of cash coming in.
Winning Combos That Will Make You Smile
Look, if you’re still stuck, sometimes all you need is the right combo of towers to make everything click. I’m talking about the kind of synergy that turns the tide of battle. Let me throw a few combos your way that I swear by.
Combo 1: Levi + Erwin Buff
If you don’t know about this combo, you’re missing out. Levi deals insane damage, but when paired with Erwin, that damage multiplies. It’s like a cheat code. I once watched Levi one-shot a boss that was literally 10x his size. A beautiful moment.
Combo 2: Saber + Aizen + Dio Brando
This combo is all about versatility. Saber handles the basic damage, Aizen provides range and control, and Dio keeps enemies locked down. Place this combo at key choke points, and you’re golden.
Combo 3: Naruto + Bulma + Goku
For the balanced player, this is your dream team. Bulma gets the cash flowing, Naruto slows down the enemies, and Goku clears the waves. This combo is my go-to for mid-game, where you have time to set up your towers.
Extra Tips for Crushing It
- Don’t Over-Upgrade: Stick to upgrading one tower at a time. No need to max out every unit—prioritize the ones that matter most.
- Look for Choke Points: Place your high-damage units where enemies will be slowed down. Makes a huge difference.
- Adapt to the Enemy: Certain waves will require specific types of damage. Be ready to pivot your strategy when necessary.
- Use Erwin’s Buff to Your Advantage: Seriously, don’t underestimate the power of Erwin. His buff can make your towers insane.
Final Thoughts
Playing ASTD is like learning how to make your first proper cup of coffee—sure, you might mess up a few times, but once you get it right, it feels damn good. Whether you’re using a balanced strategy, focusing on damage, or diving into speedruns, remember: it’s all about finding that sweet spot. And once you nail it? You’ll be dominating those waves with a grin on your face.