


Step-by-Step Guide to Classic Car Restoration: From Disassembly to Final Polish
Restoring a classic car isn’t just about reviving an old machine—it’s about bringing history back to life with patience, precision, and personal pride. Whether the goal is to return a vintage vehicle to its original factory condition or give it a customized new life, the process demands a thoughtful approach. We will explore the journey from the first bolt removed to the final polish buff on a freshly painted hood. Along the way, each stage contributes to a broader vision that blends craftsmanship with respect for automotive heritage. We will explore the essential steps, helping car enthusiasts navigate the exciting and often challenging restoration path. Every car has a story, and restoring it properly ensures it continues for generations.
Classic Car Restoration Process: An Overview from Start to Finish
- Initial Planning and Project Assessment
The first phase of classic car restoration starts with thoughtful evaluation. Before a single screw is turned, take the time to assess the overall condition of the vehicle and define what kind of restoration is being pursued—whether it’s a complete factory-accurate restoration, a restomod, or a partial rebuild. Document the car’s existing state with photos and notes, paying close attention to rust, body damage, mechanical condition, and missing parts. Develop a realistic budget and timeline based on the car’s current shape and available resources.
Finding a clean title, sourcing original manuals, and checking availability for replacement parts are also important early tasks. Planning thoroughly at this stage prevents costly surprises later in the process. Some enthusiasts also consult vintage car clubs or online forums to gather insights about the specific make and model. This initial groundwork sets the tone for the project and ensures a clearer path forward with fewer detours.
- Disassembly with Purpose and Documentation
Once the planning phase is complete, the disassembly begins. This stage requires patience and organization, as every part removed must eventually be reinstalled or replaced. Start by removing the larger components—bumpers, fenders, hood, doors—and then move toward smaller, more sensitive parts like the interior, electrical wiring, and trim. It is crucial to label and store each part carefully. Use bags, bins, and digital photo records to track the disassembly process, creating a reference library for reassembly. Bolts and screws should be grouped and tagged according to their original location.
If this step is rushed or disorganized, rebuilding becomes an overwhelming puzzle. Take extra caution with delicate interior components, wiring harnesses, and trim that may be fragile due to age. The goal during disassembly is not only to tear the car down to its bare frame but also to catalog everything for smooth and accurate reconstruction later in the process.
- Bodywork and Frame Restoration
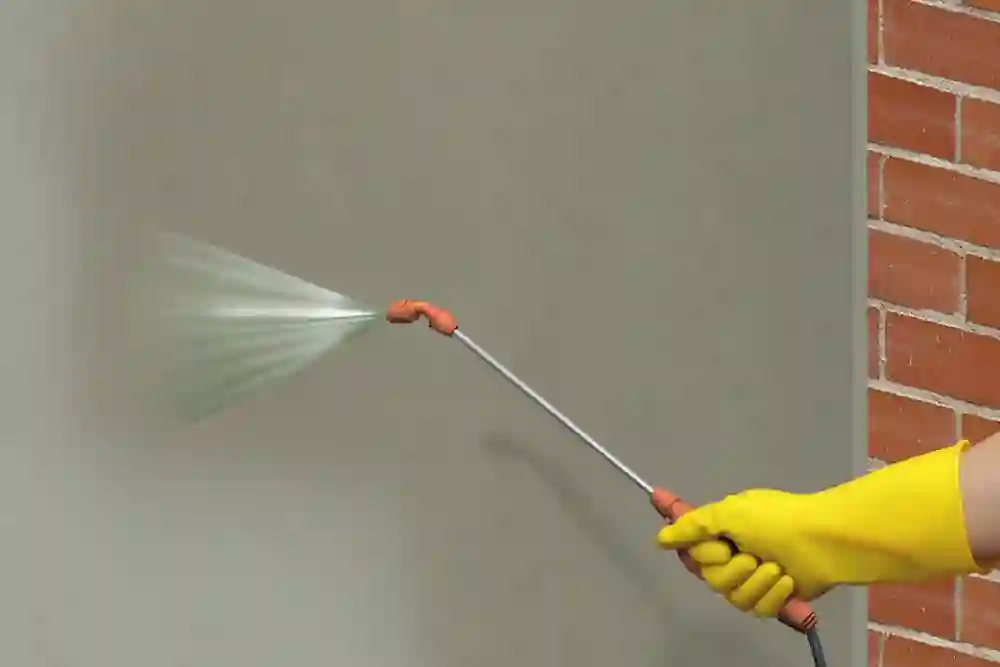
With the car stripped to its skeleton, attention turns to repairing and restoring the body and frame. This is where the most visible transformation begins. Start by sandblasting or media blasting the body to remove old paint, rust, and grime. Inspect the frame and body panels for structural damage, rust-through areas, and previous repairs. Welding new sheet metal, patching holes, and replacing panels may be necessary. Frame alignment should be verified to ensure the vehicle sits correctly when reassembled.
During this stage, decisions about paint color, undercoating, and soundproofing materials are also considered. A solid, clean, and rust-free body is crucial for the longevity of the restoration. Proper sealing and rust-proofing ensure that the beauty of the finish will last for years. Whether aiming for factory color accuracy or a unique modern look, bodywork is a labor-intensive step that reflects directly on the final appearance of the restored vehicle.
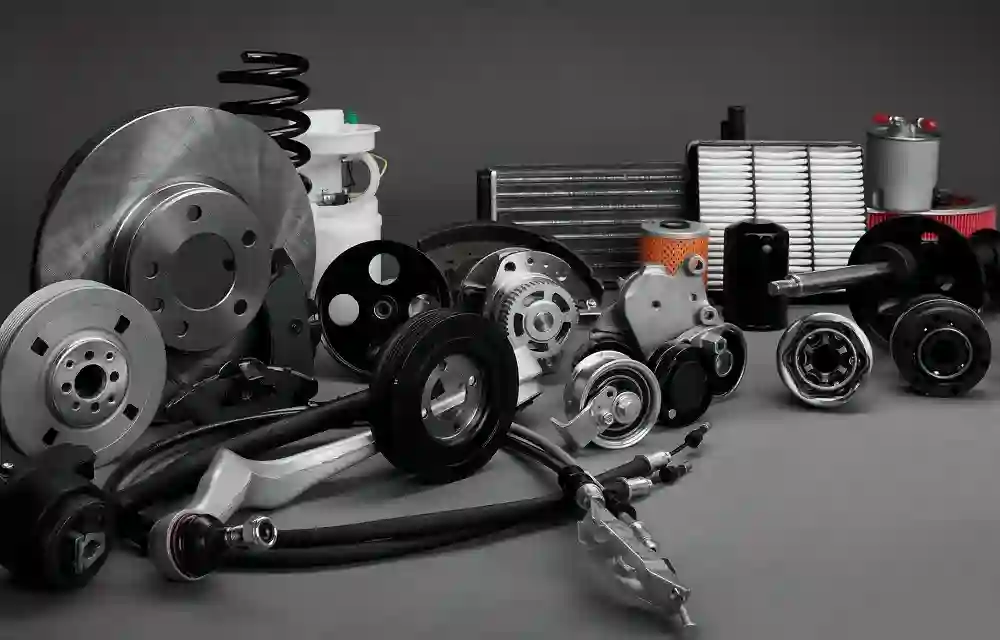
- Engine and Drivetrain Rebuild
Rebuilding the engine and drivetrain is the mechanical heart of the restoration. After removing and cleaning the engine, inspect it for wear, cracks, and other signs of fatigue. Pistons, rings, gaskets, timing chains, and bearings are often replaced or refurbished. Machining may be needed to bring the engine block back to reliable condition. Transmission, differential, and driveshafts should also be inspected, restored, or upgraded as necessary. If the car is restored to its original specs, source authentic or rebuilt components to match its original configuration.
For those opting for performance upgrades, modern parts can be integrated while maintaining the car’s character. Don’t overlook the cooling system, fuel delivery, and exhaust—each must be restored or replaced to match the new engine performance. Once everything is rebuilt, bench testing the engine before installation helps ensure it starts and runs properly when reinstalled.
- Suspension, Brakes, and Steering Systems
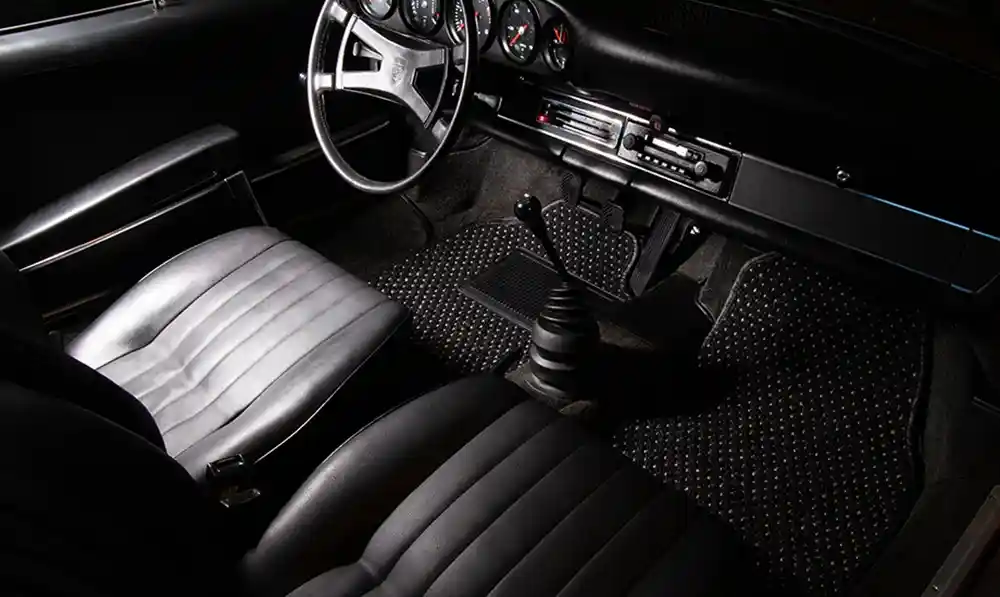
Safety and ride quality are addressed in the next step by overhauling the suspension, brake, and steering systems. Removing worn shocks, springs, control arms, bushings, and other suspension components. Replacing these with new or reconditioned parts will restore the car’s handling and stance. Braking systems—drums, rotors, calipers, and master cylinders—should be upgraded or rebuilt for optimal stopping power, especially if the car will be driven regularly.
Many restorers opt for modern disc brakes instead of original drum setups for improved safety. The steering system, including the gearbox, linkage, and power assist (if equipped), must be checked for wear and reassembled with attention to alignment and smooth operation. A properly rebuilt suspension and steering system will give the car a stable, confident ride and keep it roadworthy for years. Don’t underestimate the importance of this phase, as it plays a vital role in the car’s overall drivability.
Restoring a classic car is more than a technical process—it’s a journey that blends mechanical skill, patience, and a deep appreciation for automotive history. Every phase, from disassembly to detailing, contributes to the larger story of reviving a vehicle from the past. Taking the time to complete each step with care ensures that the result is not just a car that looks great but drives reliably and preserves the spirit of its era.